Architects and drafting students use a scale factor worksheet for architectural drawing practice to bridge the gap between rough sketches and precise blueprints. When you shrink a building down to fit on a sheet of paper, every wall, window, and doorway must stay proportional. A structured worksheet gives you repeated, low-stakes practice so you stop guessing measurements and start drawing with confidence.
What does a scale factor actually do in architectural drawings?
A scale factor is simply the ratio that tells you how much to shrink or enlarge a real-world measurement. In architectural drawing practice, you will commonly see ratios like 1:50, 1:100, or 1/4 inch equals 1 foot. The worksheet format breaks these ratios into step-by-step conversion problems. You take a real dimension, multiply or divide by the scale factor, and record the drafted length. This repetition trains your brain to spot proportional errors before they reach the final plot.
When should you practice with a scale factor worksheet?
Use these exercises whenever you transition from freehand sketching to technical drafting. They are especially helpful before starting a new floor plan, elevation, or site layout. If you are teaching a drafting class or studying for a licensing exam, working through structured problems builds speed and accuracy. Students who need extra practice with ratio calculations often benefit from starting with real-world measurement scenarios before tackling complex building layouts.
How do you work through architectural scaling exercises?
Start by identifying the given scale and the real-world dimensions. Write the scale factor as a fraction or decimal so you can multiply consistently. For example, if the scale is 1:100 and a wall measures 6 meters in reality, divide 6 by 100 to get 0.06 meters, or 6 centimeters on paper. Record each conversion in a table format. Check your units at every step. Mixing millimeters, inches, and feet is the fastest way to throw off an entire sheet. If you prefer visual practice, you can also map out proportional changes using grid-based enlargement drills to see how shapes expand or shrink uniformly.
What mistakes ruin scaled floor plans and elevations?
The most common error is flipping the ratio. Dividing when you should multiply, or vice versa, will produce a drawing that looks correct but measures completely wrong. Another frequent issue is ignoring unit conversions. Architectural scales often mix imperial and metric systems, and a worksheet will catch those mismatches early. Some drafters also skip checking diagonal measurements. In proportional drawing, if the length and width scale correctly but the diagonal does not match the expected ratio, the shape is distorted. Working through proportional shape exercises helps you catch those angular discrepancies before they affect wall intersections or roof pitches.
How can you verify your scaled measurements before drafting?
Always run a quick reverse calculation. Take your scaled measurement and multiply it by the denominator of your scale factor. If you get back to the original real-world dimension, your math is solid. Use an architectural scale ruler to spot-check at least three key dimensions on your worksheet. Keep a conversion cheat sheet nearby for common ratios like 1/8 inch to 1 foot or 1:50 metric scaling. When you move from paper to CAD software, input the exact scale factor into your viewport settings rather than eyeballing the zoom level. You can also review standard drafting conventions that align with these scaling methods reference architectural drafting standards.
What should you do after finishing a practice sheet?
Review your worksheet with a fresh set of eyes. Mark any conversions that took longer than expected and redo them without looking at your first attempt. Transfer three scaled dimensions to a blank sheet and draw a quick wireframe to see if the proportions feel right. Keep a running log of your most frequent calculation errors so you can target them in your next session.
Use this quick checklist before moving to final drawings:
- Confirm the scale factor matches the project requirements
- Verify all units are consistent across the worksheet
- Run reverse calculations on at least five key measurements
- Check diagonal proportions for rooms and structural bays
- Test one scaled section with a physical architect ruler
Print a fresh worksheet, set a timer for twenty minutes, and work through ten conversions without a calculator. Repeat until your accuracy stays above ninety percent. Consistent short practice sessions will make scaled drafting feel automatic.
 Mastering Scale Factor Word Problems
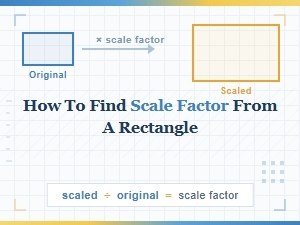 A Guide to Calculating Scale Factor for Rectangles
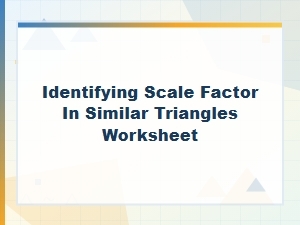 Identifying the Scale Factor in Similar Triangles
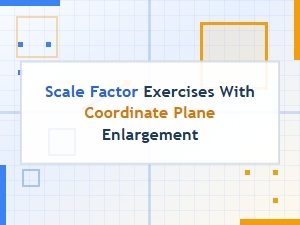 Exercising with Coordinate Plane Enlargements
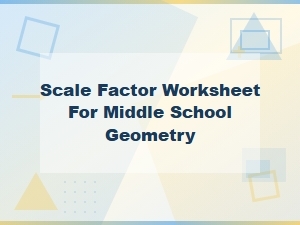 Exploring Scale Factors in Middle School Geometry
 Understanding Map Scale Factor Calculations